
Thanks!
The frogs are still up in the air. My initial plan was to have a group of R. vanzolinii, but reports of them being shy has kind of put me off of choosing them for this tank. Now the frontrunners are either R. ventrimaculatus "Blackwater" or R. imitator "Baja Huallaga," though I also have soft spot for R. flavovittata and R. benedicta. This is too hard of a choice to make
Does anyone know if Understory is working to bring any new frogs into the hobby soon? I'd love to put a group of R. defleri in it

Very nice tank Jason. Nice and simple. You will absolutely be able to find your frogs in there from the simplicityI never knew Epi web looked like that. I always thought it looks like that weird packaging material stuff for computers
When are you getting frogs? If you already said I missed it

I'm probably about a month out from getting frogs. I need to make sure all the plants will do fine in their current positions first. The epiweb reminds me a lot of tree fern fiber. One moss starts growing on it you'd never know the difference.
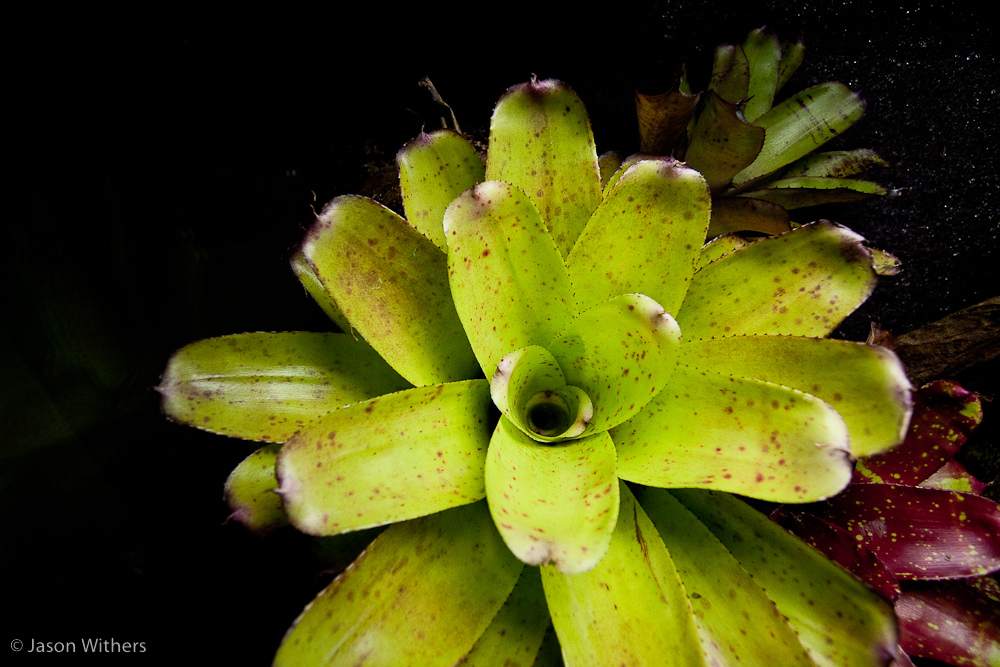
I did some rearranging last night and I think I'm happy with placement. All but the Neo. Walking Tall should be getting plenty of light to keep their colors and the placements look more natural in relation to the wood, at least to me.
More plant shots
I'm loving this 50mm lens, BTW. It's my first fast lens and I'm totally in love.
By far my favorite tank ever Jason! I am about to try to build a 60 gal tall tank similar to yours and I have a few questions of you dont mind... 1. Where did you get your Epiweb from? And how thick is that stuff? Everywhere I have looked is out of the country. 2. What are you doing for water filtration? Lastly, what type of moss are you planning on getting to grow up the background?
Looking forward to seeing more of this one!
I apologize for not getting back to you sooner. Epiweb (ecoweb in the USA) can only be obtained from this vendor as far as I know
https://www.firstrays.com/cgi/cart/c...exact_match=on
Also, some stuff has happened with this tank.
1. The bottom pane of glass apparently cracked somewhere, which forced us to convert this to a standard vivarium as I could never trust it to hold water now even if I did find the crack.
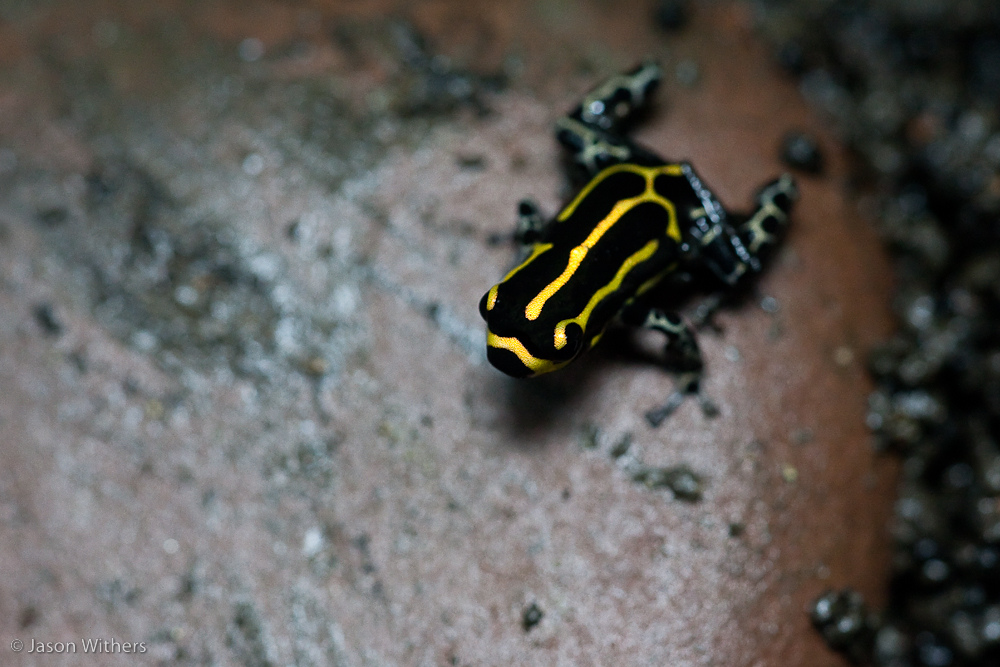
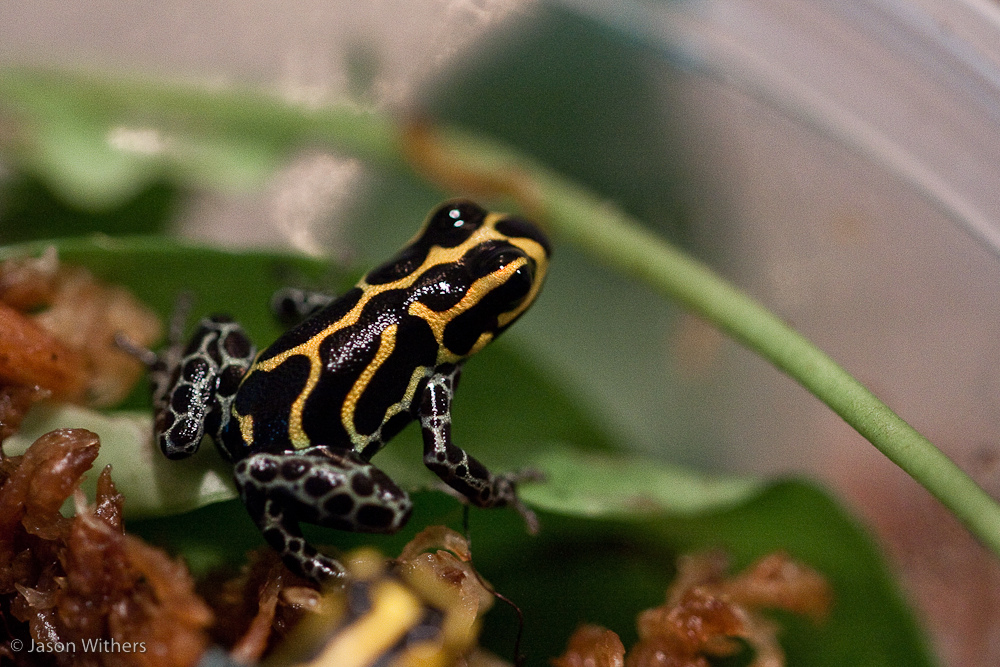
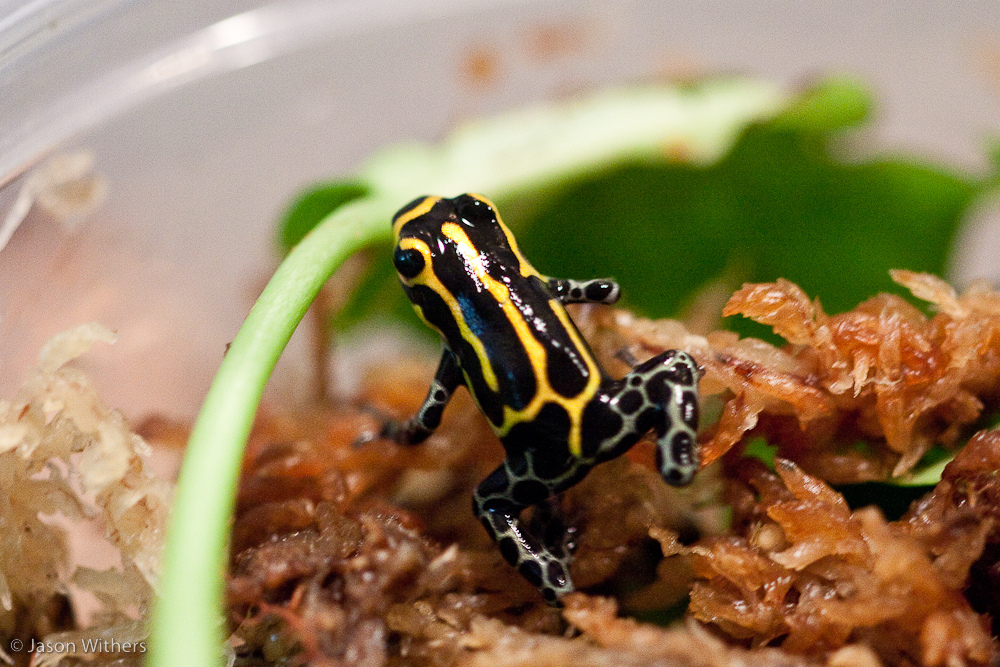
2. Some goodies arrived yesterday
#1
#2
#3
I'll take some shots that are in better focus once they're all settled in and I can use the tripod
That sucks, It looked so great too. Awesome frogs though! Tank came out awesome!
Yeah but what can you do? That's what I get for attempting to build it myself. Now at least people will stop sending me hate mail (exaggeration) about the unnecessary risk I'm putting my frogs at by having deep water in the tank.
Haha. Either way it looks good, and took a lot of effort. What frogs/line did you decide on? (Not well versed in ID'ing darts yet)
Edit: Awesome house, and where did you get that red chair? It's awesome, I want one lol
I think we got it at Pier One, or maybe World Market. They're all over the place (Ikea too I think). They're called papasan chairs
Thanks!
And.... they're in. Sorry for the shallow depth of field, I was trying to take these pics handheld.
Sorry to hear about the leak, that's rather sad. It's a crack in the glass and not a hole somewhere in the silicone? 1/4" plate glass is pretty darn tough, it would be handy to know what went wrong.
Very pretty frogs by the way.
Yup, here's the pic I got of it
It's very bizarre. I would have expected a crack to span the entire pane of glass if it was caused by pressure. I was ecstatic to find out it wasn't my silicone job that caused it though.
did you have the tank laying bare against the stand? its hard to tell from the pics. usually with a rimless tank there should always be a cloth of some sort between the tank and stand. the reason is that even a tiny grain of rock can crack a tank if the tank was on it.
Hmm, yeah I didn't have any foam under it. Man I bets that's exactly what caused it. That was an incredibly stupid mistake (since I should have known better).
Amazing build! I really need to get a 50mm lens, my 300mm just dosen't cut it for close up shots... well, actually it does, I just have to be 20+ feet away...


![[United States]](images/flags/United States.gif "United States")
What a beautiful build! It's gorgeous!
The usual assembly plan on a frameless tank has the bottom pane of glass raised up off the ground a few milimeters, this should protect from the small stuff you can't see. More of a gap might be needed as the tank gets bigger, especially with such a water load, glass does bend slightly little before is busts.Originally Posted by VicSkimmr

Did you check if the glass was thick enough to hold that amount of water? Most of the online calculators seem to be based on Calculating Glass Thickness for Aquariums but this webpage has a different calculation for the base of the tank than the sides that is ignored in all the calculators I've seen. In their sample calculation (for a giant 3'x9' tank) their base had to be nearly 50% thicker than the side panels. They also mention some kind of "self-leveling filler" will help you get away with a thinner base.
Either way, major bummer
Nothing beats a macro lens and the know how to use it for close ups

Congratulations on your gorgeous vivarium, just read your whole thread. Was worried when saw the size of it and read was made of 1/4 in. plate... then the sad news on post 65 came. Your choice of keeping it without water is probably the best since replacing that bottom plate is a major project with set-up done and frogs in. Couple of things to think (if not done already) for future similar projects based on my aquarium experience:
- Use online calculator that considers tank length and width. Also, treat paludarium as a rimless tank with water height as tank height.
- Use tempered glass for bottom plate (major aquarium manufacturers do for a reason).
- Use high-strenght SCS1200 silicone for construction (http://www.siliconeforbuilding.com/p...nstruction.pdf). It's fish safe once cured; but not sure it's dart frog safe. Maybe asking here or doing test in small enclosure before using in large project is best.
- Use foam board between tank and stand to absorb vibrations and irregularities.
Looking forward to see more pictures of this set-up, good luck with frogs and cheers!
Remember to take care of the enclosure and it will take care of your frog!
um im not sure where you get this from but the bottom piece should always lay flat on the stand and all side pieces should be built on top.
There are currently 1 users browsing this thread. (0 members and 1 guests)
 Posting Permissions


 Reply With Quote


![[Canada]](images/flags/Canada.gif "Canada")

