hi all. my first post for showing you my FBT set-up and pics of the critters too.
click on links for finishing stages of build(sorry no pics of 'how built' was made)
and a quick video also.
cheers
I love it.. very cool pics. This is definately not your first setup. Do you have other frogs?
Originally Posted by bshmerlie

thanks. yes first and only set-up i have and even built this with no prior knowledge of forums or build help. i just went for it after seeing and researching info on the toads.
Awesome job. I love the lighting and waterfall. Some pretty lucky toads!
Great
Awesome Setup!
Stopping by to help me redo mine? :-) Very Nice
Very nice job.
Is there anything else in there? i kept my firebellies in with a green tree frog and they got along.
that is a moonlight LED lamp. gives a better effect than moonglow lamps
thank you
thank you
you bought air tickets yet? thanks
just fire-bellies. fire belly & tree frogs have different temps/humidity/setup needs and should not be mixed anyhow. there is quite a debate on this scenario of mixing species. problems too many to mention here. but as long as yours were getting on well, then good luck.
Nice setup ! I watched your video and there was a toad waaay up on the top of the wall on the left . I like all the lights you have for the tank and the rock cave look .
Hi. How did you make the fake rocks and the pool area. Is there anyway you can kinda give a run down on materials that will be needed in constructing a project like this. What size tank did you use as well. This is a wonderful setup and i want to commend you on doing such an awesome job.
thanks for that. ok. i get asked often about the build so i'll bore you with the details.
now this was an experimental project using untried methods but will suggest the best options.
materials used: P I R aka celotex, grout, foam filler, pond paint, silicone sealant, aquarium sealant.
the "rocks" were cut out from the P I R and each sculpted to my liking then individually placed around the tank with the silicone, the gaps were then filled using the foam. the bottom area was divided using glass then sealed with aquarium sealant.
the "bank" was made by building up the foam. the land area was kept clear upto the wall around the back and right side so that i could place the hydroton, mat spreader then the eco-earth which is all used for drainage and plant growth purposes. then the wall and pool was covered with soupy grout then again with a pasty grout covering. then using the pond paint was again given two coats(this paint is best used when covering the area with cement only).
tank size 30 x 12x 18"
SUGGESTED METHOD: carve out the gaps between the "rocks" so you keep the block in one piece and same again with the pool/ramp area so you won't need foam which is tricky to manipulate into desired shape. same grout method. any paint colour then a couple of coats using what we call G4 pond sealant or seal just the pool area with aquarium sealant(wear a mask). and the same if using any water feature.
but taken with forethought and imagination you can achieve your "masterpiece" esp' when taking your time and not wanting it complete overnight(6 weeks inc job hours & planning/constructing project)
the 2 slideshows in my signature may help a little for ideas and plans using the foam.
Thanks so much...I will be sure to let my brother see this when i get moved and let him create something fancy for me. =) I know him he will want to be creative too so it will be his own masterpiece.
seems everybody and the toads are quite happy at the moment
posting a 1 min video update of the set-up to pass the time
http://s928.photobucket.com/albums/a...t=aedfe318.mp4
Great show
that's very kind of you, so i will give you a little showing of the pool night view now.
and, er, variant species
")
http://s928.photobucket.com/albums/a...homevideo4.mp4
Nice videos !
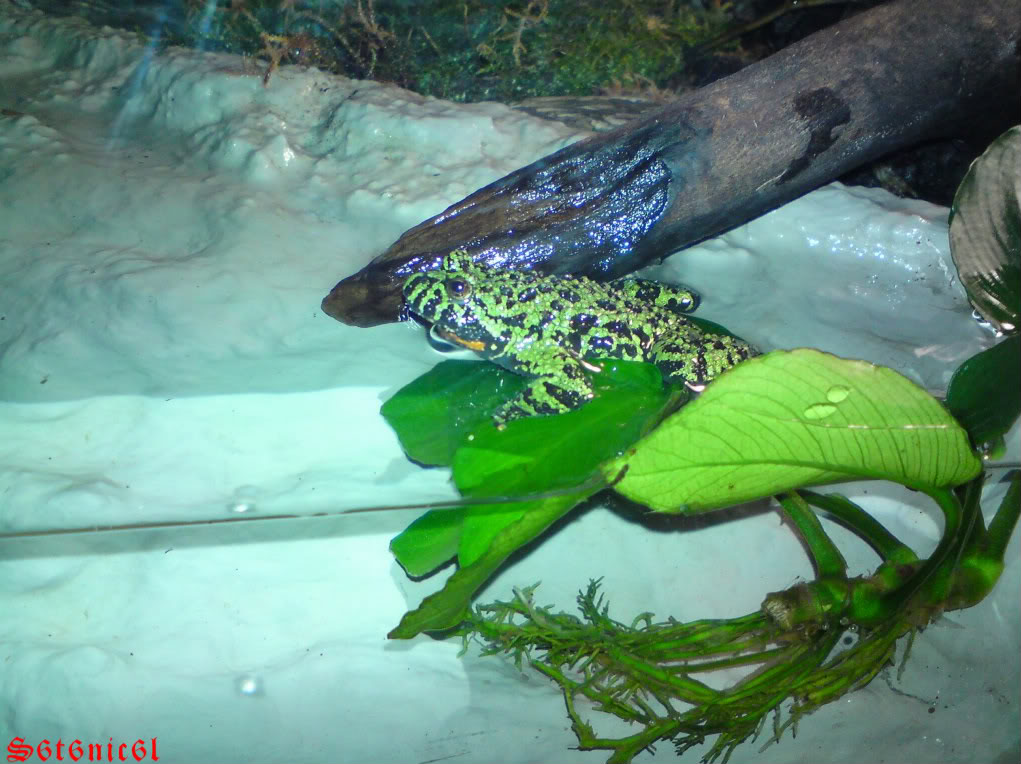
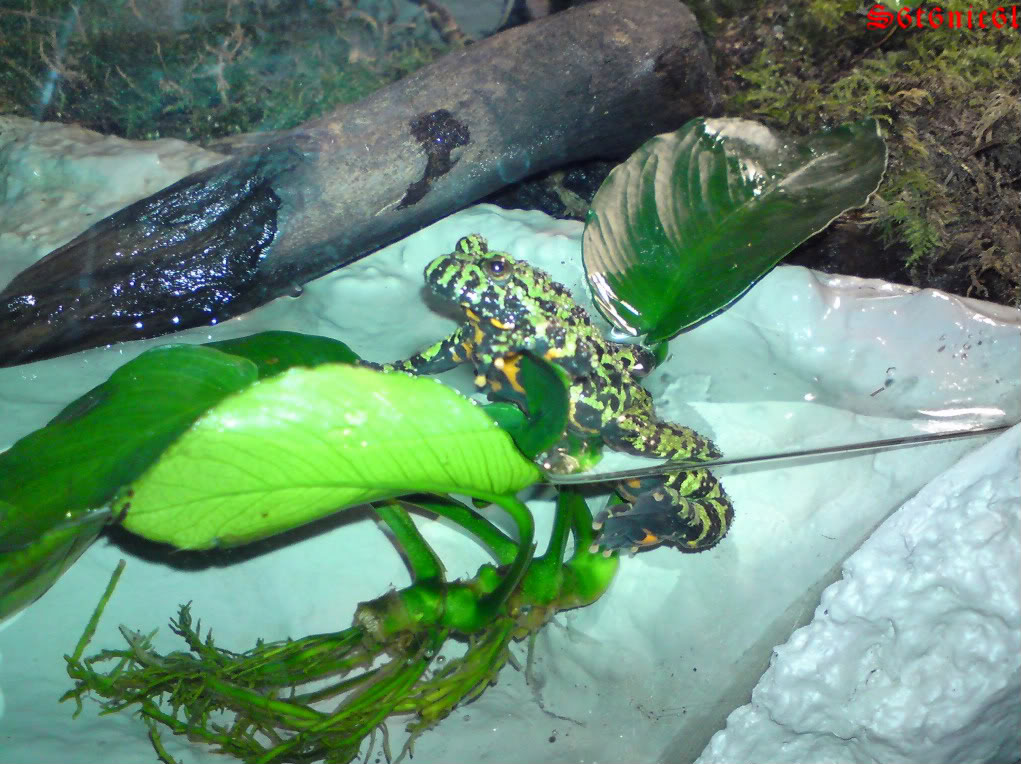
That lily pad looks like the perfect toad lounge chair . My toad started turning darker too and looks just like the one in the last pic .
two of them do lounge on these all the time. there is two of them in the pool and they are ANUBIAS plants and they do well in here.
There are currently 1 users browsing this thread. (0 members and 1 guests)
 Posting Permissions


 Reply With Quote


![[United States]](images/flags/United States.gif "United States")