


http://s263.photobucket.com/albums/i...t=0c258995.mp4
http://i263.photobucket.com/albums/i...y/81fe13fe.jpg
http://i263.photobucket.com/albums/i...y/eefef02f.jpg
http://i263.photobucket.com/albums/i...y/3b82d342.jpg
http://i263.photobucket.com/albums/i...y/f6544f28.jpg
http://i263.photobucket.com/albums/i...y/be23d7d8.jpg
http://i263.photobucket.com/albums/i...y/45b07924.jpg
http://i263.photobucket.com/albums/i...y/2b4527e4.jpg
http://i263.photobucket.com/albums/i...y/985f41dc.jpg
http://i263.photobucket.com/albums/i...y/c29b89cc.jpg
http://i263.photobucket.com/albums/i...y/bb003bf0.jpg
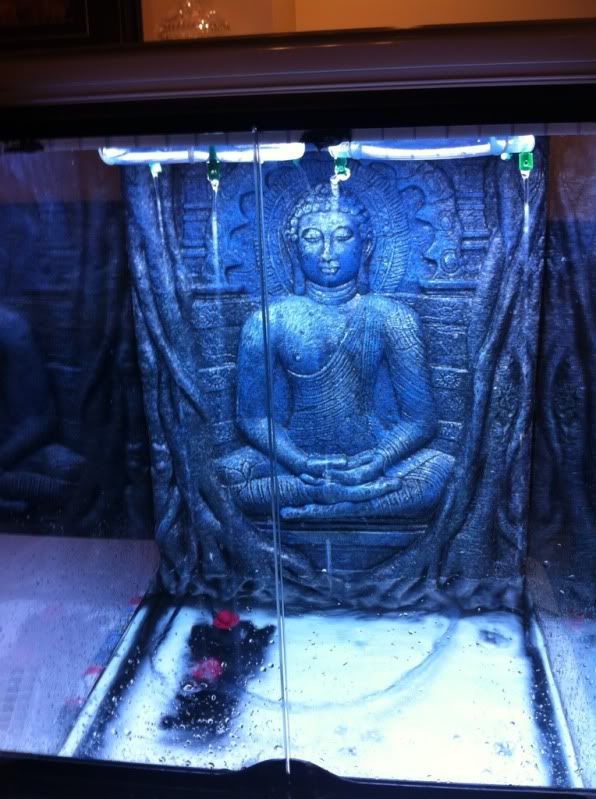
Just reflection of stuff in bottom pic.
http://s263.photobucket.com/albums/i...t=0c258995.mp4
Tree frog vivarium build
Stage one: build egg crate framing. Attach with zap straps, use butate torch to bend one piece of egg crate. Use Bond+Seal compound and smear along seams of egg crate frame. Mount tubing to back of face plate and attach with bond and seal. This prevent's tubing from twisting too much. Use egg crate and make a false ceiling to attach tubing for simulated rain. This stimulates breeding I have read and been told. Invert tank and spot silicone egg crate in place. I am not going to go nuts on silicone as I may get some "MagClip's" to also help support false ceiling. I have pretty much determined position of frame and pumps, picked up some black expanding(pond) foam for small water feature that will be going in tank. As no darts will be going in tank, water motion won't be as much of an issue. (I hope). Will also be picking up some filter media material from pet store that I have used successfully in the past. The one key to this build, unlike my other builds is to make the frame real easy to pull out and service pumps as required.
Stage two:
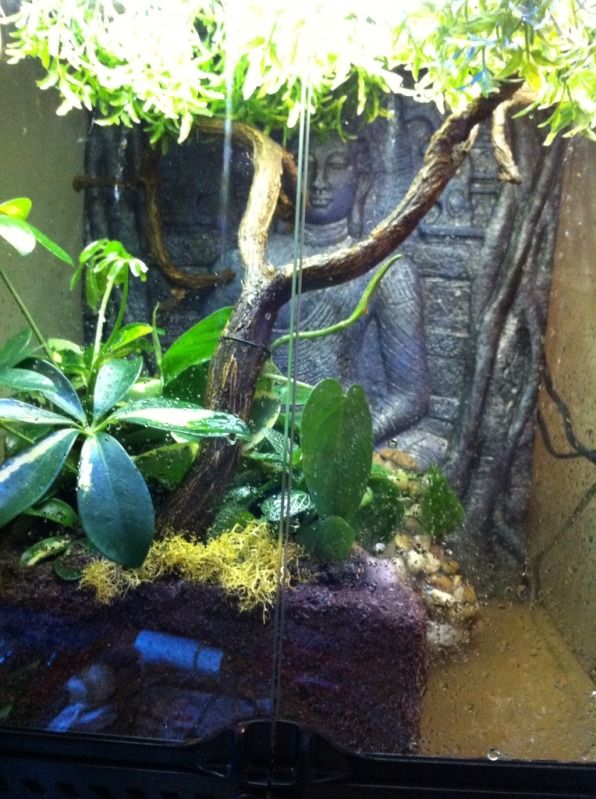
I know a long stage one. Ok, frame built and landscape cloth fitted in place. Checked all plumbing connections for water feature and rain system. All seems good. Install pvc tube into top fitting. (this will be removed later). Place a few rocks around top plumbing to hold secure when foam installed. Spray pond foam in water feature compartment and let dry for 2 days. After curing, twist(carefully) pvc tube from fixture. Start peeling and tearing small chunks from foam. Now at this point you can leave it as it looks sort of like lava rock. I decided to go a bit further. Out comes the hot glue gun and some of the decorative rock picked up at Walmart. This was probably the most time consuming part of the build. After rocks all glued in place let dry for 24 hrs. I will be going to pet store next day for filter media and aquarium gravel for bottom of tank. After picking up all pieces from pet store it is time to hook up all plumbing and install frame in tank. Once frame is in place I will begin to install aquarium gravel around framework. I will then put a small layer of lava rock in bottom of what will be planted section. After that I will put in small amount of soil and determine location of plants. As there will be approximately 3" of water in bottom of tank I am trying to decide what plants I can include that can tolerate lots of moisture. Several came to mind. I could use some small bamboo plants but they will get larger than aquarium will allow eventually. I am thinking of using mostly bog type plants, Venus fly traps, or sundews. I will also pick up some frog spawn. The trick here will be how they are planted. I am looking for possibly a unique lava rock that can be chiseled out or one that already has been and plant bog plants in that and set directly in water. One other thing I did was to put my bond sealer on visible side of landscape material and then cover it with sand. Just to give it a more natural look. I also found some realistic looking fake plants and used them around the rain tubing. I think it looks nice. I then hooked up plumbing and started planting the plants I will be using. I will let this all sit for 48 hrs and then add water to bottom. Once it is all tested and ok, that's all, just add the frogs when in and relax and enjoy the little guys.

 Reply With Quote