


OK.
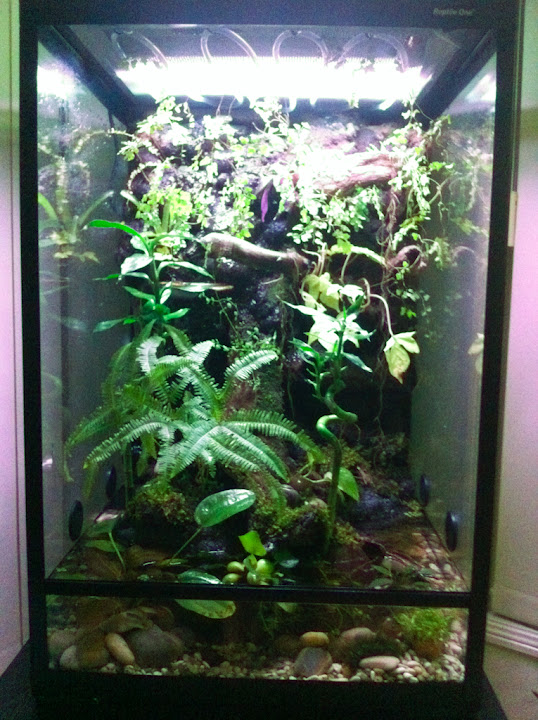
This is the new setup of our tank. We used the same method and materials that we used in the previous setup, but we made some changes (improvements?), so we'd like to call it v2 ;-)
Finally got around to taking some more photos (still a bit crappy ones as my camera is broken so I took them with the phone) ;-)
Hope you like it!
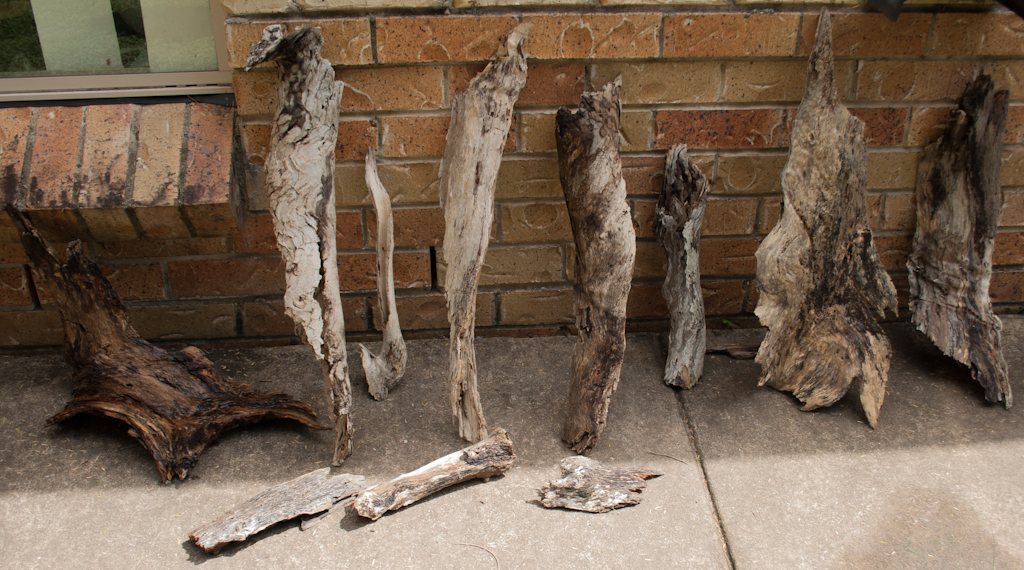
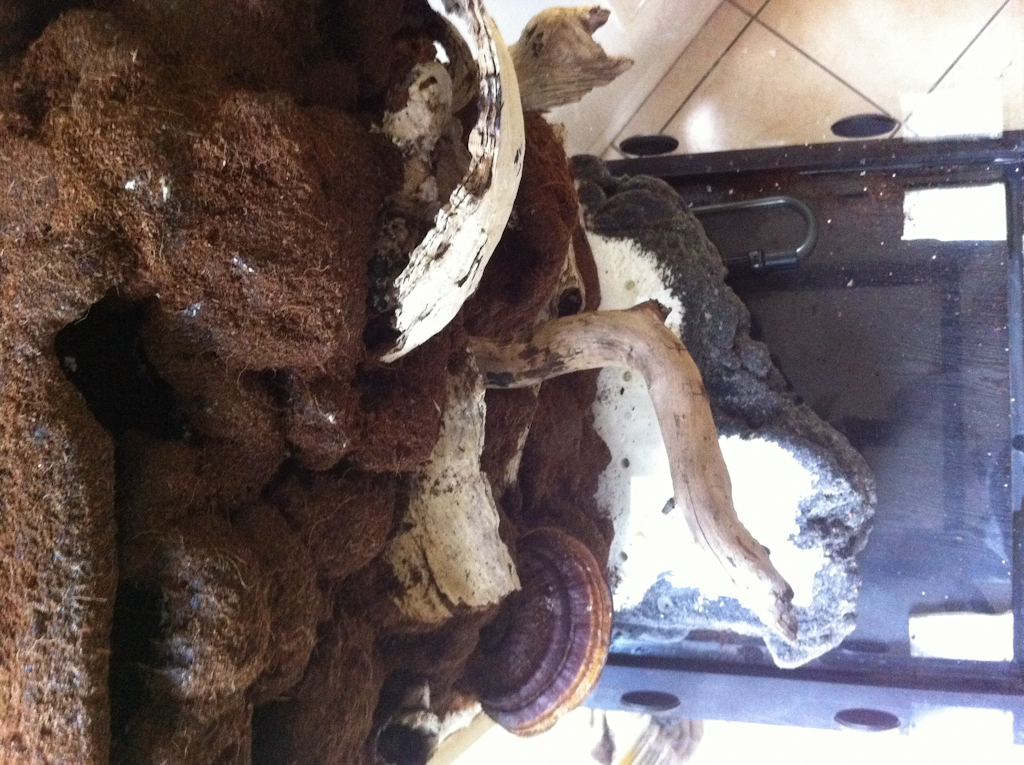
These are some pieces of wood we found in the forest behind our house...
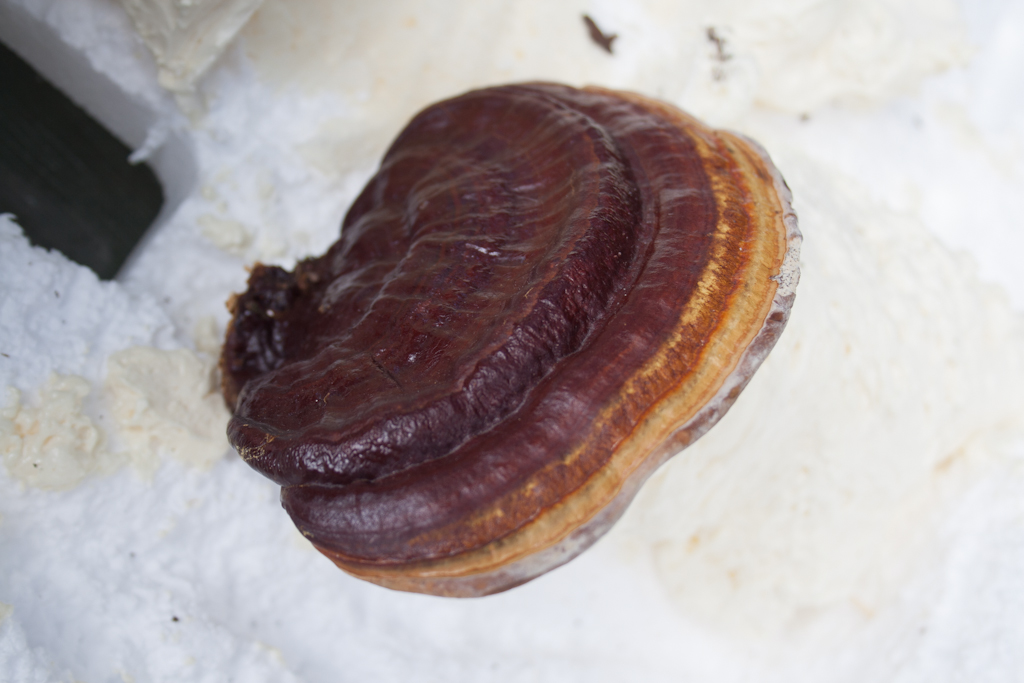
A mushroom we found in our backyard. We used it to create a stand. At the moment water runs through it so they go there when they want to get wet
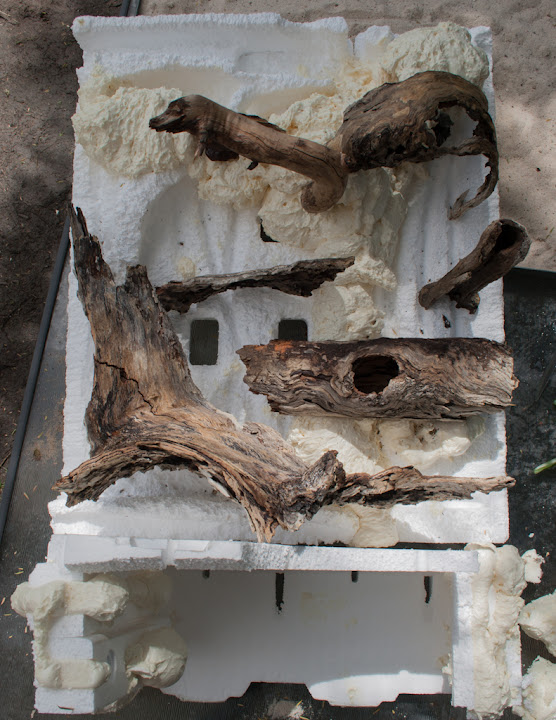
Laying expanding foam on the background together with some pieces of wood... The bottom (ground area), is a work in process at this stage... It has been cut but still needs foam to cover the front...
Testing the ground area with the background. Everything seems to fit perfectly!
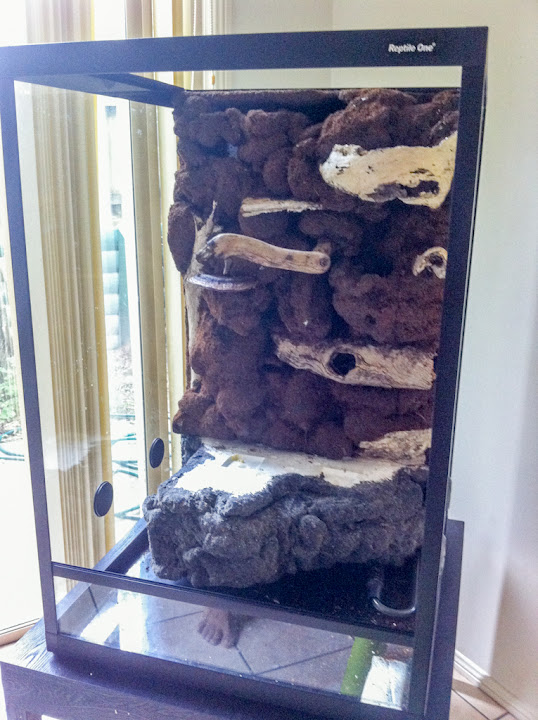
The background had the front done with foam, then a layer or black pond sealant and immediately some coco peat sprinkled on top. The ground area has the same process but instead of coco peat, we sprinkled sand on top of the pond sealant.
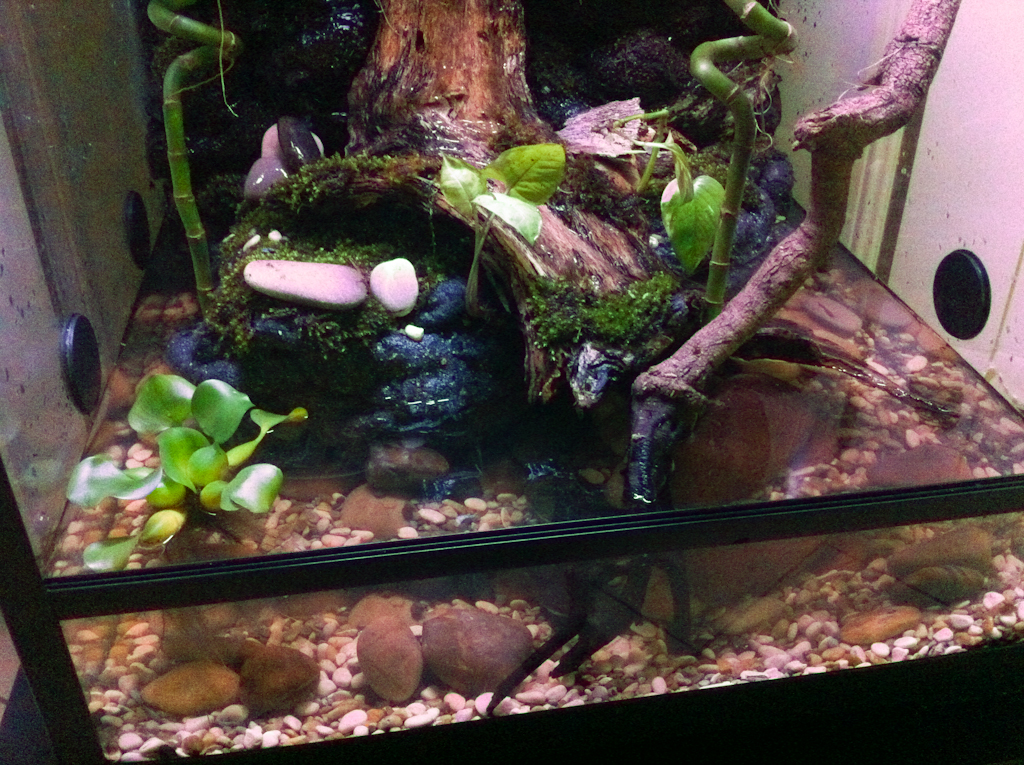
Here you can see the area that has been allocated to the pond/aquarium...
You can also see the filter pipe sticking out. It will be covered with rocks later on.
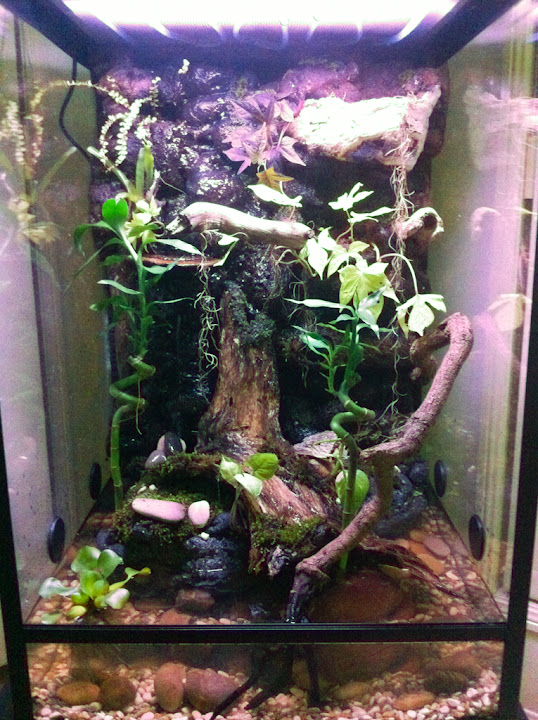
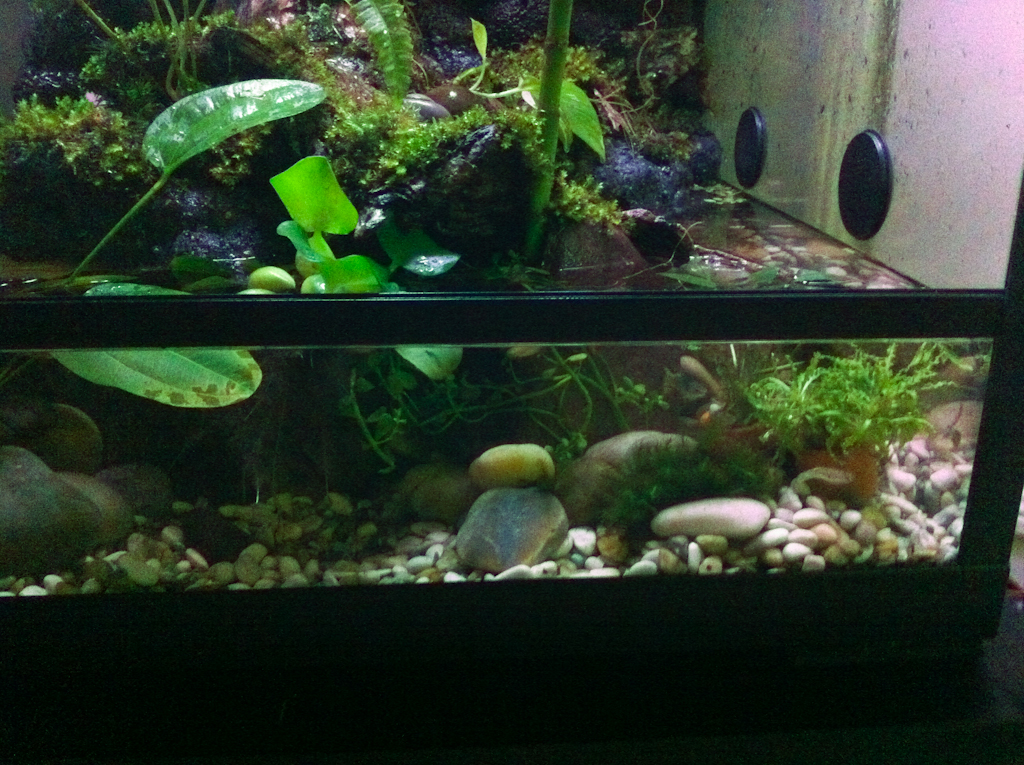
Added some plants, moss some rocks and water
We also setup a rain system at the top of the lid. We added some aquarium tubing with tiny holes, connected to the waterfall. We also added some taps to be able to divert the water to the waterfall or to the rain system.
The pond!
Added some more aerial plants!
and also more aquatic plants
And... This is a video of the tank running - on a rainy day- ;-)
https://plus.google.com/u/0/110416584292969709788/posts/DFoswBCssS9


 Reply With Quote