Results 1 to 20 of 30

Thread: FrogFevers 55g Display Tank Build...

Hybrid View

Previous Post Previous Post   Next Post Next Post
  1. #1
    Pixidust
    Guest

    Default Re: FrogFevers 55g Display Tank Build (Updated: crazy, creative mods)

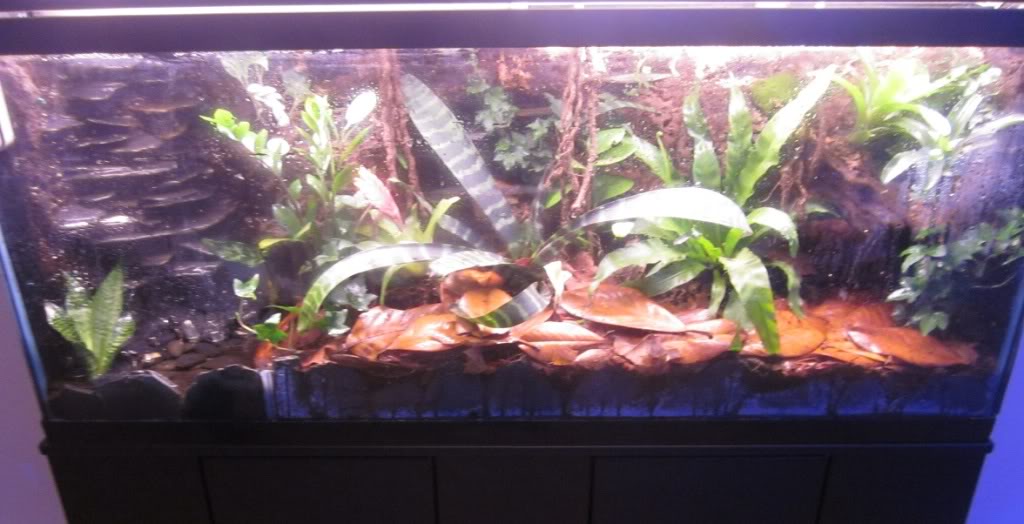
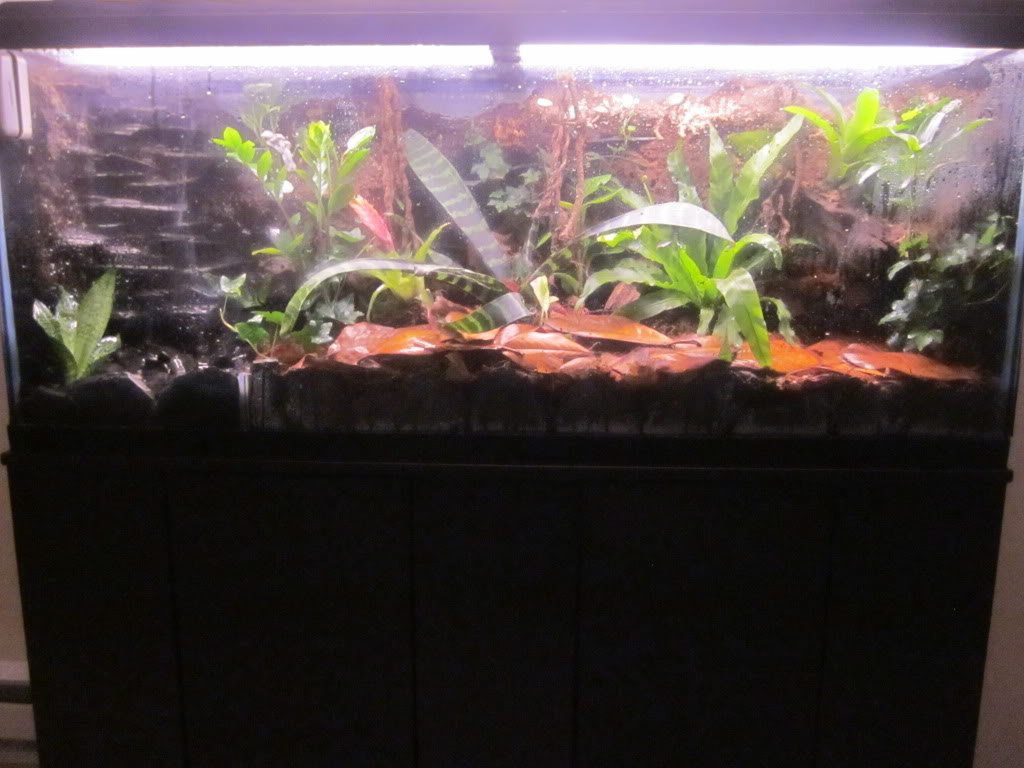
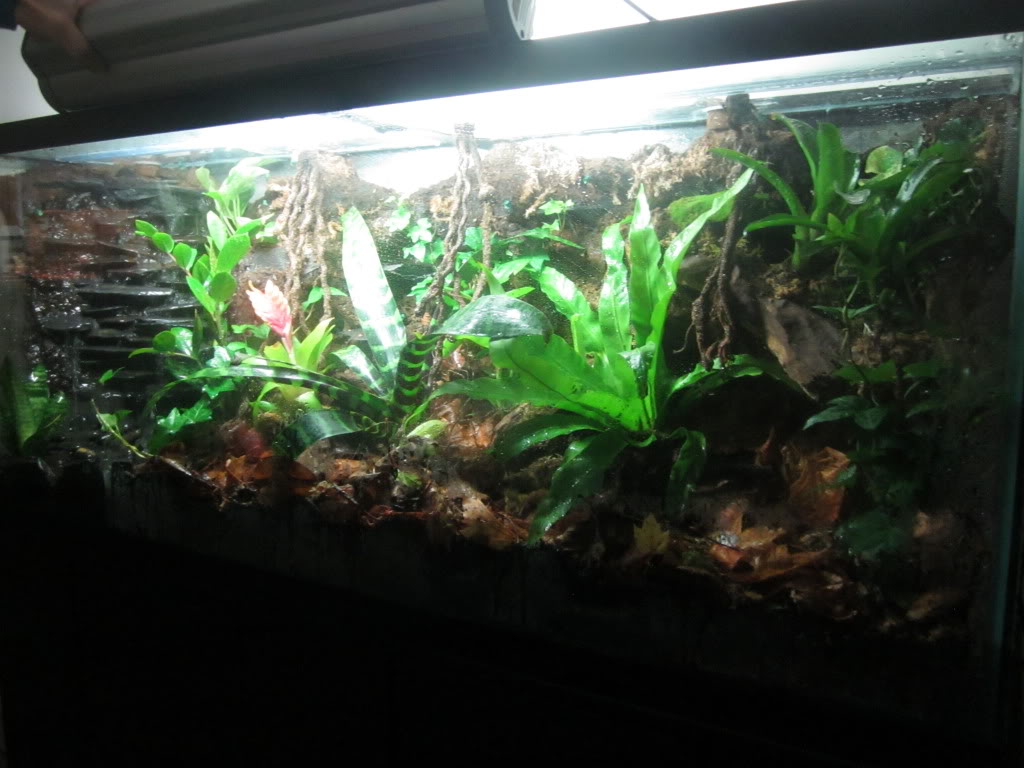
    Could you cover the top with a homemade screen top, or a "no see um" net, and then use something like frame out the top of the tank with wood, glass, acrylic, or whatever then rest the light on the frame, it is a beautiful light fixture it would be a shame not to use it.

  2. #2
    FrogFever
    Guest

    Default Re: FrogFevers 55g Display Tank Build...

    Well I plan on getting 4 glass pieces cut for the top. Although I could set the light on top of the tank I wouldn't be able to open it without having to remove the whole fixture first. Plus, I think it would be really hot directly on top of glass.
    And I'll be sure to check out that lighting system Grrrit. I will most likely just get one for a good deal on Craigslist.
    Planted the tank today! Adding pictures soon!

  3. #3
    FrogFever
    Guest

    Default Re: FrogFevers 55g Display Tank Build...

    Hydroton layer set up. Notice the black pvc pipe set in place for drainage. And I decided not to use the false bottom I made. Using solely leca balls instead.
    I had to go to the store to add to what I had so I ended us spending $18 total on hydroton.
    Black weed blocker will be cut to size to fit over this as to keep the layers separated.
    Name:  craigslist 030.jpg
Views: 2739
Size:  136.3 KB

    I have a bad habit of buying plants far before I need them, but here is a shot of some that I've acquired in the last couple of months. And yes, I realize that all of these won't fit!
    Got some bromeliads, and other sorted "tropicals".
    Some of these I've used before and I know will work, and others I've never tried so we'll see if they stay alive.
    Home depot and wal-mart just happened to be my main sources this time.
    Name:  craigslist 040.jpg
Views: 2611
Size:  127.6 KB

    Some individuals think its lame to use plants bought from Home Depot, but I don't necessarily care all that much. Sure, it'd be nice to be able to afford all those crazy tropical plants, but hey, at least I don't have to pay for overnight shipping!
    The plants that ended up with a permanent place in the (dry section of the) tank I estimate to cost about $50.
    Name:  craigslist 041.jpg
Views: 2544
Size:  118.3 KB

    Picture of the abg soil mix and the wood pieces I have to choose from.
    Wood cost: $17
    Name:  craigslist 043.jpg
Views: 2546
Size:  63.7 KB

    I am so very tempted to post the planted tank picture, but I'm going to wait until the water section is planted as well.

  4. #4
    Kristen
    Guest

    Default Re: FrogFevers 55g Display Tank Build...

    When I made my tank, I bought WAYY to much plants for it, but about half died anyway. haha
    I cant wait to see the picture of the planted tank!

  5. #5
    FrogFever
    Guest

    Default Re: FrogFevers 55g Display Tank Build...

    Before I post the final pictures and the video I've decided to post the rest of the build first. Its all about the anticipation.

    55 gallon custom canopy process.


    4 pieces of glass cut. 23 1/4in x 5 3/8in from Aces Hardware for only $12 w/ tax! (Its says quantity 1, but it was actually 4.)


    4 bare pieces laid out before sanding.


    Here I have marked where I plan on drilling the holes.


    Outlined with Play-Doh to keep water on the hole saw while cutting.
    Play-doh: $2


    Diamond coated hole saw 7 piece set. 11-25mm. Ebay - $14
    I've never drilled glass before so this will be my very first attempt.
    I discovered that the 25mm would not be big enough to pass all the wires through so I had to buy a 40mm one as well from Amazon. $5.55
    40mm=1.5in. This hole was big enough to allow the Lights in Flights bulky wires to pass through as well as the large water pump plug in.

    During the drilling process I very easily drilled the 11mm holes that I'm making to hang the vines from.. BUT the 40mm is a whole other story... I think it was a combination of me drilling to close to the edge of the glass and my pushing too hard that ended up breaking both pieces of glass!! 
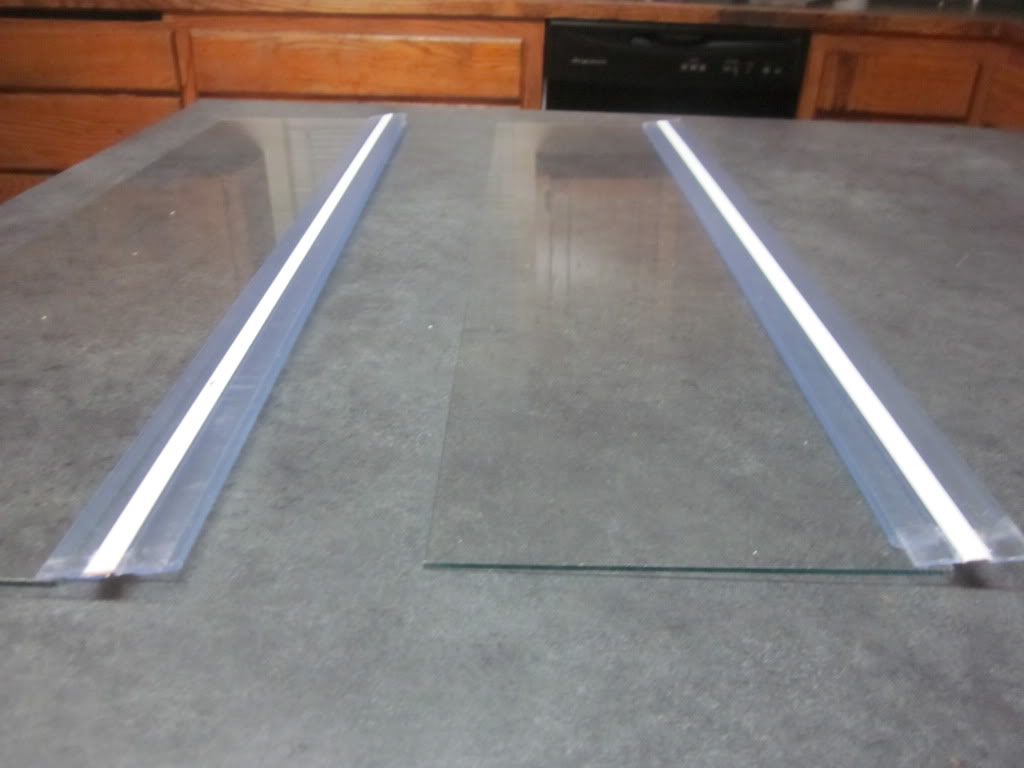
Good thing I had two more left of the exact same size.

    So I managed to get all of the holes drilled in the two remaining pieces, thank god. The key is to be slow and steady. I would highly recommend having a hose moving flowing water over the glass holes while they're being cut.
    The 2 more glass pieces at Aces cost me $8 this time. I definitely got hooked up the first time.


    So I thought of something creative to cover these 1.5in holes in the top glass.
    I bought these (3) computer grommets from Aces Hardware. A whopping $4.57 each with the caps.


    Grommets inserted in holes.


    While the glass is sitting on the top of the tank the background is too high in some places so I had to cut the grommets down to fit.
    A Dremel can be a vivarium builders best friend.


    Camouflaged with silicone and peat moss.


    Front opening lid pieces with 'living hinge' attached. I got the living hinge from USPlastics.com - 6ft for $9


    To allow the living hinge to lie flat along the edges of the tank with the glass it is necessary to cut the bottom end portion of each side as shown. One is cut, the other is not. (I kind of butchered the first one, but touched it up with sandpaper.)


    Picture of the screws I use for the vines/roots.


    Glass top afixed and siliconed in place with aquarium sealant. GE II clear silicone would've worked just as well.


    Picture of the grommets in place. Very clean look to the whole top imo.

    Final touches and final photos coming very soon.

  6. #6
    FrogFever
    Guest

    Default Re: FrogFevers 55g Display Tank Build...


    I have to include a picture of these black nitrile gloves. 100 pack + 100 bonue for only $13 at Home Depot.
    These have saved the day on many occasions. If I didn't have these my girl wouldn't even bother helping me. We went through 40+ of them with this build.


    I used black contact paper to cover the sides and back to give the frogs a more "secure" place to live.
    Magic Cover black contact paper - 18in. X 24ft. - Amazon.com -$13


    Side of tank before contact paper...


    After. Very clean.


    Painted shrooms.


    These pictures really don't do justice to the real life sight.


    Another variety.


    The blue is not as vivid as the green but still looks awesome in the tank right after the lights go off for the night.


    We ended up applying 3 or 4 coats of glow-in-the-dark paint to really make them glow. It dries a whitish color that kind of takes away from the fine details of the painted shrooms, but well worth the trade off.

  7. #7
    FrogFever
    Guest

    Default Re: FrogFevers 55g Display Tank Build...

    I've still got a couple minor adjustments and additions to make to the tank, but I'll post those in due time. I do plan on making a final post with the total dollar amount spent to make this vivarium. I will however, post the full planted tank picture since some of you have been patiently waiting!


    Still waiting on a better lighting system, but I really like this picture.


    I may take out some of the leaves to avoid the messy look it creates.


    Water area close up.
    Note: I can't stress this enough for beginners. After a weeks time I have come to find (just as I thought I might) that the water from the waterfall feature managed to soak into the great stuff enough for it to makes its way around the vertical glass partition (which I put up in order to stop the water from dripping into the soil mix) and dripping into the substrate! It was a slow drip, but it eventually soaked all of the substrate in the dry land section. To remedy this I cut the great stuff to a point that dripped just near the water's edge. This was close enough to the water area that the drip would drip onto a large magnolia leaf first that helped guide the trickle into the water section. So ALWAYS make a glass partition bigger than you think you need it to be. Water will always find the quickest route downward so when carving the foam keep any "carved points" in the area where you want the water to drip into. I'll try to get pictures of what I'm talking about.


    Still waiting to see which plants hold up and I'll prolly add a couple more vines/ ground cover.


    Waterfall video is next.

Thread Information

Users Browsing this Thread

There are currently 1 users browsing this thread. (0 members and 1 guests)

Similar Threads

  1. Display Paludarium Build
    By VicSkimmr in forum Vivarium, Terrarium & Enclosure Discussion
    Replies: 146
    Last Post: October 1st, 2013, 09:26 AM
  2. Cheap Tank Build For African Bullfrog, Pyxicephalus adspersus
    By Wolfx in forum Vivarium, Terrarium & Enclosure Discussion
    Replies: 13
    Last Post: November 24th, 2011, 07:13 AM
  3. Divided Tank Build
    By bshmerlie in forum Vivarium, Terrarium & Enclosure Discussion
    Replies: 14
    Last Post: August 9th, 2011, 08:44 AM
  4. 150 gallon pdf display tank
    By guppygal in forum Vivarium, Terrarium & Enclosure Discussion
    Replies: 10
    Last Post: July 2nd, 2011, 10:48 AM

Tags for this Thread

Posting Permissions

  • You may not post new threads
  • You may not post replies
  • You may not post attachments
  • You may not edit your posts
  •