


![[Bulgaria]](images/flags/Bulgaria.gif "Bulgaria")
Hey guys!
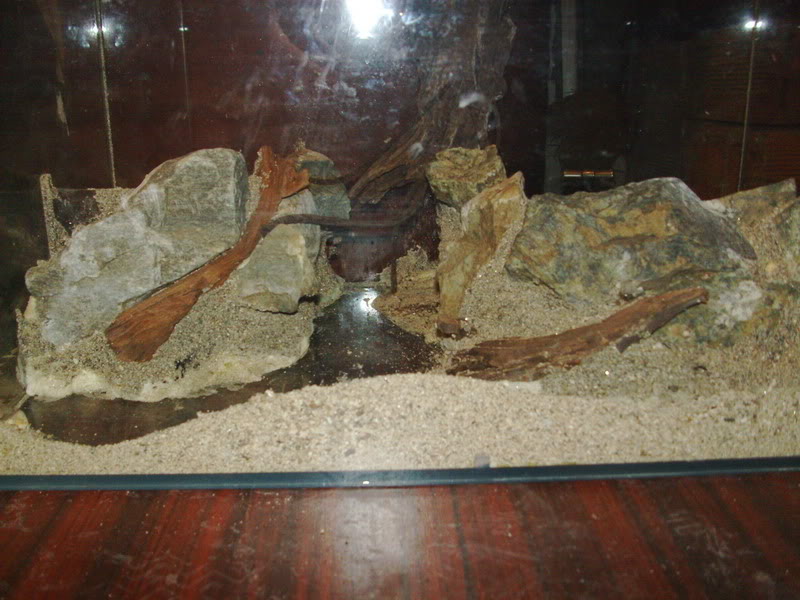
I decided to remake my FBT's paludarium.
It previously looked like this:
Paludarium for Fire-bellied toad - YouTube
What i didnt like in this setup was the dividing glass and my toads stay in the water 80% of time so that big land area is just waste of space for the little guys.
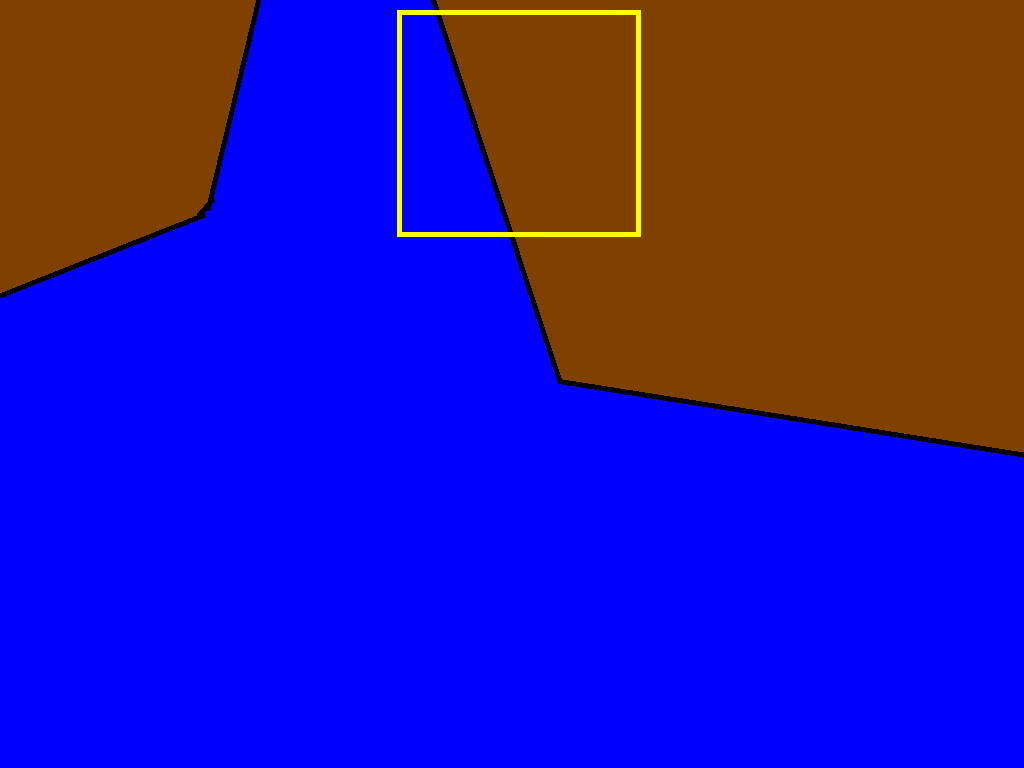
The divider is already in the history and i formed 2 smalled land areas with plexiglass where ill seed my plants. The plan is to look something like this:
I forgot to make pictures of the tank after i glued the plexiglass, but ill add few later. At the yellow marked area fake tree roots are to be added made by this method:
http://www.dendroboard.com/forum/par...tml#post498792
I cutted the pvc pipes in the desired size and made incision by their length:
What followed is heating and bending in desired form. I got satisfied in this form:
Thats it for today. To be continued
1.0 Hyla cinerea1.0.1 Leptopelis vermiculatus


![[Ireland]](images/flags/Ireland.gif "Ireland")

I'm intrigued by this. Please keep the installments coming!
Founder of Frogforum.net (2008) and Caudata.org (2001)
The fake tree roots look great! I can't wait to see them in your setup.
PS. I can't help but mention that my grandfather was from Bulgaria - a town near the Black Sea coast. He spoke of it often. I hope to visit someday.
You should definitely visit the Black Sea! Especially the still wild parts of it - absolutely awesome!Originally Posted by rosaphile

So, back in the topic.
Today my new dividers failed the water tests, so I removed them completely, cleaned up the tank and did the same operation from the start.
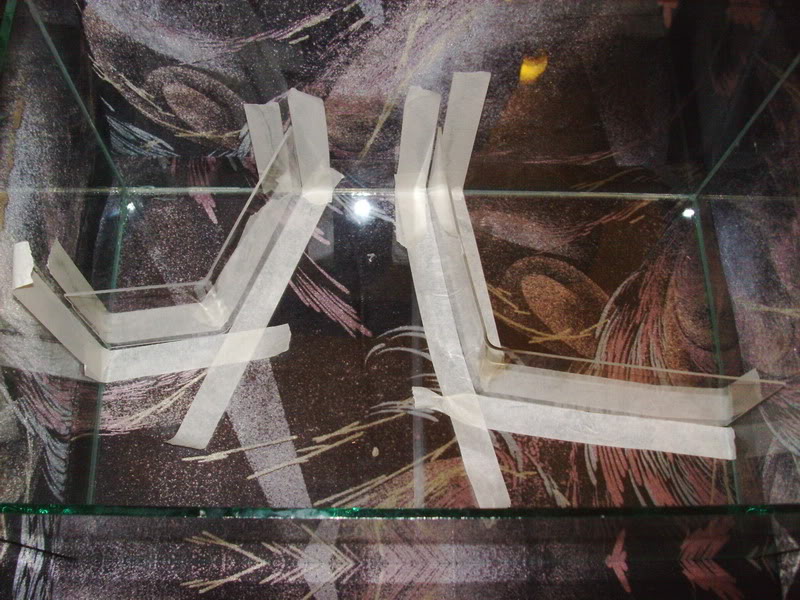
Here are the dividers placed in the desired position:
I used masking/paper tape (or i dont know how you call it) on the edges, so when i remove the extra silicone i can simply remove the tape and the glass will remain completely clear.
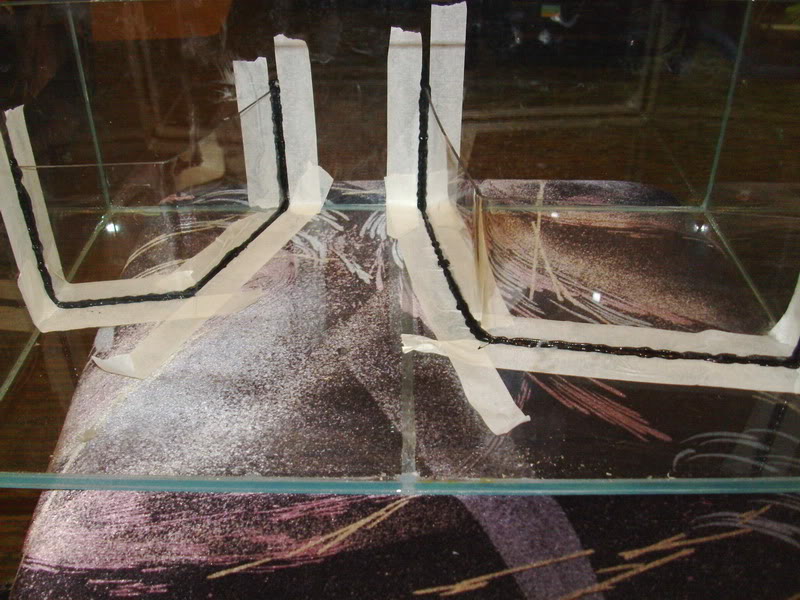
Here is the silicone layed in the formed "bed".
And the dividers already glued to the tank.
Eh... the removing of the extra silicone didnt work as intend for me, but it is my 1st time to glue so precisely and i didnt curved the plexiglass correctly and the edges were slipping. But nvm, all that is going to be hidden anyways :P
1.0 Hyla cinerea1.0.1 Leptopelis vermiculatus
After today's test the dividers proved to be waterproof.
This is the result of the hiding of one of the dividers.
As you can see i still have a lot of work over it. 1st to cut the extra foam, then to cover it with silicone and stick sand/small stones or both to it. And to do the same for the right side ofc. :P
Btw i think to disband the PVC pipe tree roots idea, because they appeared too big for the size of the tank. The wood you see in the pics above looks a bit like a stump and ill just decorate it with ropes made by that method mentioned in the beginning of the thread.
1.0 Hyla cinerea1.0.1 Leptopelis vermiculatus
Hey guys! Time for an update
Here it is the construction foamed, carved and sand siliconed to it. Also few vines attached to the wood so they can imitate roots. 2-3 more will be added abit lower.
What bothers me is how the siliconed sand wood look like underwater... would it be looking unnatural, but ill find a way to hide it if it is so - you know some pebbles, moss and voila

1.0 Hyla cinerea1.0.1 Leptopelis vermiculatus
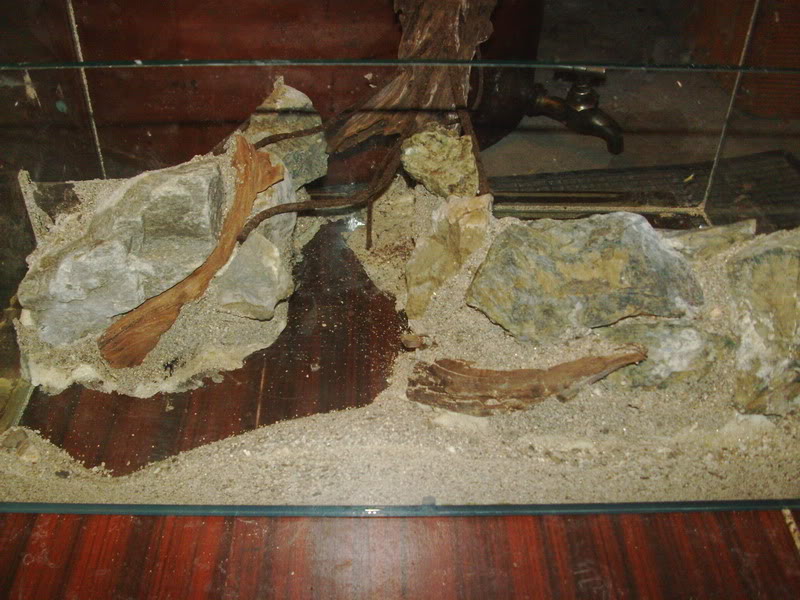
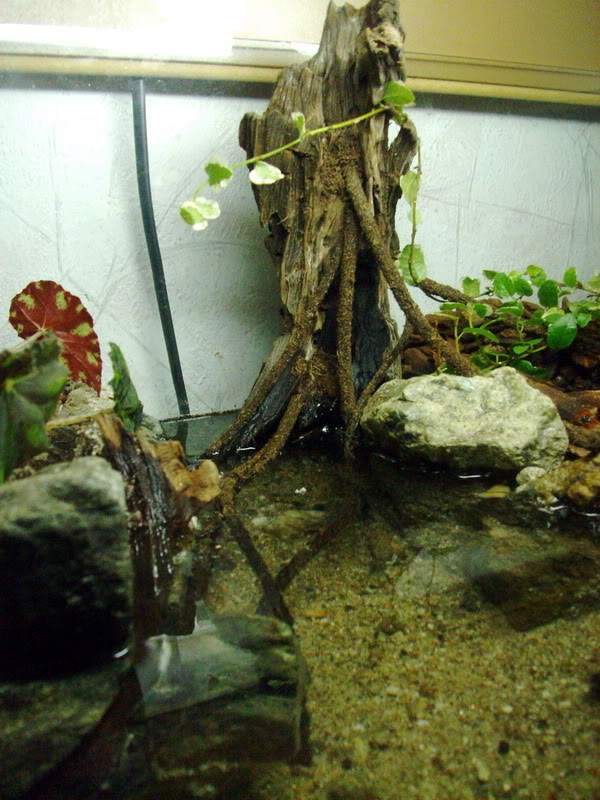
Well, it seems i am almost done
Here it is the palu, before i fill it with water
And after i fill it:
I still have to add more sand in the waterfeature, buy some more plants for the land side, because i got really few atm and arrange the underwater area with putting some rocks and aquatic plants.
1.0 Hyla cinerea1.0.1 Leptopelis vermiculatus
I love the way this looks. Are you using a filter or pump at all? Are you planning on creating a waterfall feature? What kind of sand did you use in the water part and is it safe for plants?
There is no filter for now, but i will be adding one below the wood and it will be hidden with pebbles. There will be no waterfall for this set-up, i really liked to, but the tank is really small (50/30/25cm) and i just dont have the space. The sand i got from a river side, baked and washed. I use it for substrate for my aquarium and had no problems for 2 years already
1.0 Hyla cinerea1.0.1 Leptopelis vermiculatus


![[Netherlands]](images/flags/Netherlands.gif "Netherlands")
Looks really nice!
P.hosii/G.riobambae/S.couchii/C.cranwelli/B.orientalis/R.humboldti/M.klappenbachi
It looks awesome! I love the design!
The time has come to add background to this tank, so here is the result

1.0 Hyla cinerea1.0.1 Leptopelis vermiculatus

![[United States]](images/flags/United States.gif "United States")
Very pretty
https://m.facebook.com/photo.php?fbid=10203589094112277&id=1363241107&set =a.1434844115446.2055312.1363241107&source=11&ref= bookmark
thats awesome man, nice creativity
really love what you done with the little tree stump and roots, the whole tank is awesome
There are currently 1 users browsing this thread. (0 members and 1 guests)
 Posting Permissions


 Reply With Quote


![[Canada]](images/flags/Canada.gif "Canada")